The question is: How to Use Transfer Tattoo Paper?
In my experience, tattoo transfer paper is a game changer. It’s the secret weapon in creating precise, stunning designs.
I’ll guide you through its Use. We will cover everything from preparation and transfer process to troubleshooting.
Let’s turn your visions into wearable masterpieces.
Table of Contents
Key Takeaways
- Transfer tattoo paper is essential for creating precise and stunning tattoo designs.
- There are different types of transfer tattoo paper, including thermal transfer paper, freehand transfer paper, and inkjet and laser transfer paper.
- Transfer tattoo paper plays a crucial role in creating temporary tattoos by serving as a blueprint for the design and allowing for experimentation and adjustments.
- To use transfer tattoo paper, you will need essential supplies such as paper, a printer, scissors, damp cloth or sponge, and skin-safe sealant.
Understanding Transfer Tattoo Paper
To truly master the art of tattoo transfers, it’s essential to grasp the nature of the tool you’re using – transfer tattoo paper. Coming in a variety of types, each with its subtle nuances, this paper plays a pivotal role in crafting temporary tattoos that are both striking and precise.
By understanding its properties, we can unlock its full potential, turning simple designs into masterpieces on the skin.
Types of Transfer Tattoo Paper
It’s important to understand that there are various types and varieties of transfer tattoo paper, each suited to different needs and purposes. This versatility makes it a fantastic tool for creating intricate, personalized designs.
Take a look at this table to get an idea about transfer tattoo papers:
| Type | Best For | Description |
|---|---|---|
| Thermal Transfer Paper | Professional Tattoo Artists | Compatible with home printers, it is ideal for complex digital designs. |
| Freehand Transfer Paper | Customized Designs | It allows you to draw directly on it, which is perfect for unique creations. |
| Inkjet and Laser Transfer Paper | DIY Enthusiasts | Compatible with home printers, ideal for complex digital designs. |
It’s all about finding the right paper that aligns with your creative vision and technical prowess. The choice is yours, so embrace the possibilities!
Its Role in Creating Temporary Tattoos
I’ve found that nearly all temporary tattoos are created using transfer tattoo paper. This type of paper plays a crucial role in the process by serving as a bridge between your artistic vision and the client’s skin. The paper carries the design, which is then transferred onto the skin, providing a blueprint for the tattoo.
The beauty of transfer tattoo paper lies in its versatility and precision. Whether you’re dealing with intricate designs or bold statements, this paper can handle it all. It’s also a valuable tool for experimentation. You can easily tweak your design on paper before committing it to skin, making it a perfect choice for those wanting to test different designs. The role of transfer tattoo paper in creating temporary tattoos is undeniably irreplaceable.
Tools and Materials for Creating Temporary Tattoos

From the essential supplies for using transfer tattoo paper to preparing your workspace, each stage holds its importance. Let’s remember safety considerations, as they ensure a smooth, enjoyable, and risk-free tattooing experience.
Essential Supplies for Using Transfer Tattoo Paper
Before we dive into the process of using transfer tattoo paper, it’s crucial to gather all the supplies you’ll need to create temporary tattoos. Not only will having the right tools ensure a smooth application process, but they can also enhance the overall quality and longevity of your temporary tattoos.
Here is a detailed table of the necessary supplies:
| Supply | Purpose |
|---|---|
| Transfer Tattoo Paper | To print and transfer the design |
| Printer | To print the design on the transfer paper |
| Scissors | To cut out the design |
| Damp Cloth or Sponge | To transfer the design onto the skin |
| Skin Safe Sealant | To enhance the longevity of the design |
Having the right tools at your disposal can make a difference in your temporary tattoo creation process.
Preparing Your Workspace
Having gathered all the required supplies for transferring tattoo paper, I’m ready to prepare my workspace and discuss the necessary tools and materials for creating temporary tattoos.
A clean, well-lit, organized workspace is an artist’s canvas, encouraging creativity and precision. I start by sanitizing my surface with a disinfectant, ensuring a safe space free from bacteria.
Next, I arrange my tools – the transfer tattoo paper, a thermal printer, a stencil gel, and a squeegee or credit card for smoothing the design. I also keep a damp cloth nearby for easy cleanups. Besides these, I ensure my skin prep materials are within reach. This organized and clean setup is vital for a seamless and efficient tattoo transfer.
Safety Considerations
In light of preparing my workspace, it’s crucial also to consider the safety aspects of the tools and materials I’ll be using for creating temporary tattoos. I ensure that my tattoo paper is of premium quality, free from harmful chemicals that can irritate the skin.
It’s also essential to use inks that are non-toxic and tested for skin contact. Gloves are a must to prevent any potential cross-contamination.
As for the transfer gel, I opted for a hypoallergenic one to reduce any risk of allergic reactions. Lastly, I always have rubbing alcohol on my hands. Not only is it great for prepping the skin, but it’s also crucial for cleaning spills and maintaining a hygienic workspace. Safety should never be compromised in the realm of creativity.
The Transfer Process

Now, let’s journey through the intricacies of the transfer process, a critical stage in applying for a tattoo.
We’ll craft an exquisite design worthy of being etched on the skin, then prepare that canvas for our art. The magic moment arrives – applying the transfer paper, where we breathe life into our creation.
Preparing the Design
In the heart of any tattoo lies the design, a careful blend of creativity and significance unique to a fingerprint. It’s no minor task to select or create a tattoo design, ensuring it’s sized and formatted just right for the canvas it’s destined for. As an experienced tattoo artist, I’ll guide you through the intricacies of preparing your design for the transfer process, transforming a mere idea into a tangible blueprint.
Selecting or Creating Tattoo Designs
Before we delve into the transfer process, it’s crucial to select or create the right tattoo design, setting the foundation for a successful tattoo. Whether choosing a ready-made piece or crafting an original, consider your style, the design’s complexity, and its adaptability to your body’s contours. Remember, this is your canvas. Be bold, innovative, and thoughtful in your selection, creating a design that truly expresses your unique persona.
Sizing and Formatting the Design
Understanding the size and format of your chosen tattoo design is the initial step in the transfer process; it’s essential to ensure a seamless and accurate application. Here’s a quick guide:
| Steps | Description |
|---|---|
| 1. Measure | Determine the exact size you want the tattoo. |
| 2. Format | Choose the correct format, .jpg or .png, for clarity. |
| 3. Adjust | Use software for any final adjustments and print. |
This process isn’t just technical. It’s an artistic preparation that sets the stage for a successful tattoo transfer.
Prepping the Skin
Before a masterpiece can come to life, the canvas must be perfectly primed. That’s why, when it comes to using transfer tattoo paper, prepping the skin isn’t just a preliminary step—it’s an art form itself. From a thorough cleaning to carefully applying skin prep products, every move is a deliberate dance in pursuing a flawless tattoo transfer.
Cleaning and Preparing the Skin Surface
To ensure a successful tattoo transfer, I must start with thoroughly cleaning and preparing the skin surface. This means using a mild, unscented soap and warm water to cleanse the area, followed by a gentle pat dry. Then, I apply a thin layer of transfer gel, priming the skin to receive the design. This canvas prep is critical, allowing the art to shine genuinely.
Applying Skin Preparation Products
After ensuring the skin is clean, I then apply skin preparation products to ready the area for the tattoo transfer further. Here’s a quick table to illustrate the process:
| Steps | Products Used | Results |
|---|---|---|
| 1 | Stencil lotion | Skin is moist, ready for the design |
| 2 | Transfer paper | Design is imprinted on the skin |
| 3 | Green soap | Excess ink is cleaned |
| 4 | A&D ointment | Skin is protected |
| 5 | Bandage | Tattoo is secured |
This prep ensures a clean, lasting tattoo transfer, setting the stage for artistry.
Applying the Transfer Tattoo Paper
Now that we’ve prepared the skin, it’s time to apply the transfer tattoo paper, the heart of the process. Carefully, like a painter with a blank canvas, I align the design, ensuring it’s correctly positioned before committing to the transfer. Each motion, from the application to the gentle smoothing of the image, is done with the precision and finesse of a skilled artist.
Step-by-Step Application Process
Before we dive into the details, let’s understand that applying the transfer tattoo paper is a crucial step that requires precision and patience. Here’s a step-by-step guide:
| Steps | Material | Instructions |
|---|---|---|
| 1 | Stencil transfer gel | Apply a layer of the gel |
| 2 | Carbon copy of design | Place it on the skin |
| 3 | Carbon copy | Smooth it down for proper transfer |
| 4 | Carbon copy | Lift off to reveal the transferred design |
Ensuring the Design Is Correctly Positioned
Precision is vital when it comes to ensuring the tattoo design is correctly positioned on the skin using transfer tattoo paper. To master this, patience and a steady hand are essentials. It’s crucial to align the design perfectly before applying pressure. You can’t rush artistry, so take your time and make adjustments until it’s just right. Remember, it’s permanent once the ink sets in.
Setting the Tattoo Design
Now, let’s focus on the vital part of setting the tattoo design. This process requires precision and a good understanding of the client’s vision, as it involves making the transfer permanent and carefully removing the transfer tattoo paper. From my years of experience, I’ve learned that mastering this step can elevate your tattoo artistry.
Making the Transfer Permanent
Now, let’s focus on making your transfer tattoo a lasting statement. It’s all about ensuring adhesion to the skin and the magic of heat application. With the right techniques, we can transform a temporary design into a permanent masterpiece.
Ensuring Adhesion to the Skin
Once I’ve applied the transfer, it’s crucial to ensure it adheres properly to the skin to make the tattoo design permanent. I use gentle pressure to the transfer, providing every detail bonds with the skin. Then, a thin layer of petroleum jelly is applied to seal and protect the design. With care and precision, the transfer becomes more than a stencil. It becomes a work of art.
Heat Application Methods
To ensure the tattoo design becomes permanent, I’ve found it’s essential to apply a certain amount of heat to the transfer. From my experience, I’ve used a heat lamp or a professional tattoo thermal copier for this process. Both enable the tattoo ink to penetrate the skin deeper and stay vibrant longer. It’s an innovative, crucial step that helps transform your design into a lasting piece of body art.
Removing the Transfer Tattoo Paper
Once we’ve successfully transferred our desired tattoo design onto the skin, we must understand the art of removing the transfer paper without smudging the design. This delicate process involves not only the proper removal techniques but also the necessary skin care post-removal. Let’s embark on this final stage of setting our tattoo design, ensuring it’s clear, sharp, and ready for the next step.
Proper Removal Techniques
Even though I’ve applied the tattoo successfully, it’s crucial to know the correct methods for removing the transfer tattoo paper without damaging the design. Gently peel back, not upwards, ensuring the design remains intact. If any ink remains, a touch of alcohol can assist. With a delicate hand and the correct technique, the design’s integrity is maintained, crafting a perfect foundation for the upcoming needlework.
Skin Care After Removal
So, what’s next after you’ve successfully removed the transfer tattoo paper and your design is set? It’s time to focus on skincare.
| Aftercare Steps | Description |
|---|---|
| Cleanse | Gently wash the area with mild soap. |
| Moisturize | Apply a thin layer of unscented lotion. |
| Protect | Keep the area away from harsh sunlight. |
| Avoid | Refrain from scratching or picking the tattoo area. |
This routine helps maintain the vibrancy of your new tattoo and promotes healing.
Tips and Troubleshooting
In our journey to master the art of using transfer tattoo paper, we’ve reached a critical juncture: tips and troubleshooting. Here, I’ll share my hard-earned knowledge on the common issues you might encounter and how to solve them, ways to maximize the quality of your transfer tattoos, and the best practices to store and preserve your transfer tattoo paper. Get ready to elevate your craft to the next level with these insider techniques and solutions.
Common Issues and How to Solve Them
Despite years of experience with tattoo transfer paper, I’ve encountered a few common issues. Don’t worry. I’ll guide you through their solutions.
| Common Issues | Cause | Solution |
|---|---|---|
| Incomplete Transfer | Too little pressure during the application | Reapply with more pressure |
| Blurred Design | Excessive gel or improper placement | Use less gel and ensure correct placement |
| Design Not Sticking | Skin not prepared properly | Clean and thoroughly dry the skin |
| Faded Design | Overuse of rubbing alcohol | Limit the use of alcohol and let the skin rest |
| Paper Tearing | Rough handling | Handle with care, use gloves |
Maximizing the Quality of Transfer Tattoos
Maximizing the quality of your transfer tattoos isn’t just about following the basic steps; it’s also about understanding common problems and troubleshooting them effectively.
Remember, the devil is in the details. You’ll want to ensure your design is clear and sharp, so take time to polish it before moving on. Patience is critical here, as rushing will only lead to smudged lines and blurry designs.
If you’re experiencing trouble with the transfer, try adjusting the pressure you’re applying. Too much can cause smudging, while too little might not transfer the design altogether.
Lastly, always treat the skin gently. Excessive rubbing can irritate and negatively affect the final result. With practice, you’ll master the art of tattoo transfer and be able to create stunning designs that are crystal clear and detailed.
Storing and Preserving Transfer Tattoo Paper
After perfecting the art of tattoo transfer, I must focus on adequately storing and preserving my transfer tattoo paper to ensure its longevity and effectiveness. Like any fine art material, these papers require specific care to maintain quality.
Here’s a simple yet effective table to guide your preservation efforts:
| Do’s | Don’ts | Troubleshooting |
|---|---|---|
| Store in a cool, dry place | Don’t expose to direct sunlight | Use within one year of purchase |
| Keep in a sealed plastic bag | Don’t store near heat sources | If the paper isn’t transferring, it may be too old |
| Keep it in a sealed plastic bag | Don’t use it if the paper appears discoloured or smells off | If the transfer is weak, try a new sheet |
Creative Ideas and Inspiration
Now, let’s ignite our imagination and explore creative ideas and inspiration. From mastering the skill of temporary tattoo artistry to personalizing and customizing your own temporary tattoos, there’s a world of possibilities waiting for you. Plus, showcasing your creations can be an excellent way to express your artistic flair and inspire others.
Temporary Tattoo Artistry
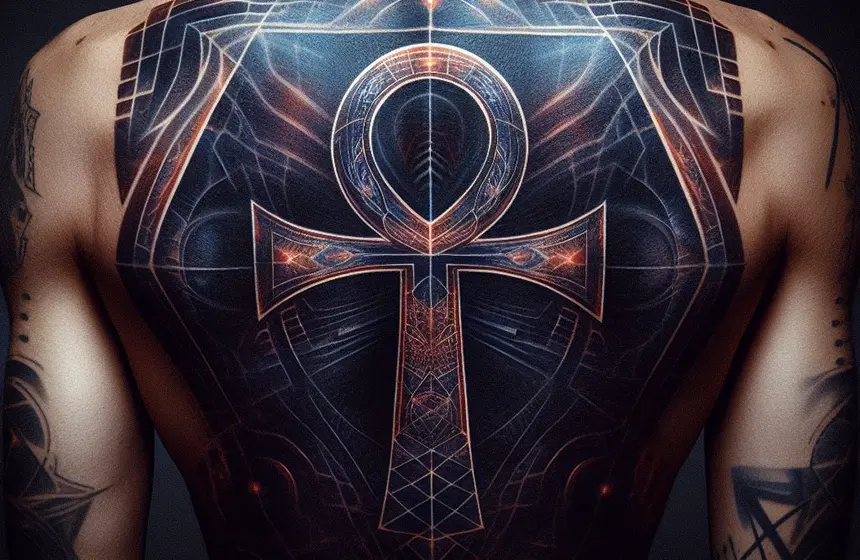
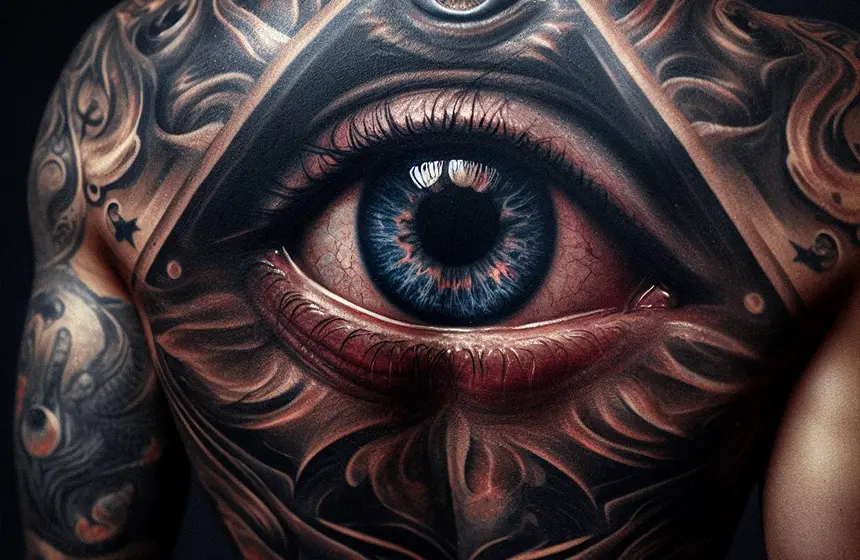
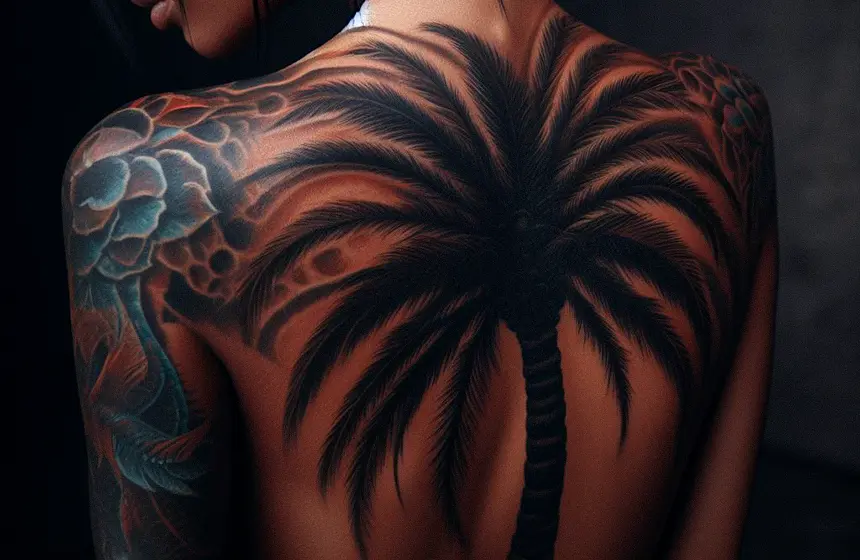
Why not explore your artistic side with temporary tattoo artistry, where you can experiment with creative designs and gain inspiration from many sources? There’s a world of possibilities waiting for you. You could delve into the intricate beauty of geometric designs or the bold strokes of tribal art. You may be drawn to the delicate tendrils of floral patterns or the whimsical charm of cartoon doodles. For a unique twist, experiment with optical illusions or 3D effects. I often find inspiration in the natural world, in the fascinating patterns of our everyday surroundings, and even in the expressive lines of modern architecture. Remember, the beauty of temporary tattoos lies in their impermanence – you’re free to explore, create, and constantly redefine your artistic style.
Personalizing and Customizing Temporary Tattoos
While I’ve shared some sources of inspiration for temporary tattoo designs, it’s important to remember that the real magic lies in personalizing and customizing your tattoos, making each design a unique expression of your individuality.
Think outside the box. Consider merging elements of different designs or using colours in unexpected ways. You may be a musician. Create a design that incorporates musical notes. Love nature? Consider a design with your favourite flower or animal.
Showcasing Your Creations
Once you’ve personalized and customized your temporary tattoos, it’s essential to think about how best to showcase your unique creations. Think outside the box! Apply your tattoos on unconventional canvases, like pottery or glassware, to create bespoke art pieces. Use them as a creative outlet, turning everyday items into conversation starters.
Consider them the perfect accessory for themed parties or a fun, non-permanent way to express your mood or personality. The beauty of transfer tattoos is their versatility. They can even be used to create unique fashion statements, like temporary tattoo chokers or bracelets. You might also use them as part of a photoshoot or performance – they can add a striking visual element to your work. Be bold, be innovative, let your creativity shine.
Frequently Asked Questions
-
Can Tattoo Transfer Paper Be Used on Any Skin Type?
Yes, tattoo transfer paper can be used on any skin type. It’s essential, though, to prep the skin properly beforehand. Clean it, dry it, and apply a transfer solution for best results.
-
What Precautions Should Be Taken When Using Tattoo Transfer Paper on Sensitive Skin?
When using tattoo transfer paper on sensitive skin, it’s vital to conduct a patch test first. Ensure you’re using hypoallergenic products and moisturize afterwards to minimize the chance of skin reactions. Always prioritize comfort.
-
How Long Does a Tattoo Transferred Using Transfer Paper Typically Last?
A tattoo transferred using this method doesn’t last forever. It’s temporary, typically fading after a week, depending on the skin type and care given. Still, it’s a versatile, innovative tool for design testing.
-
Can I Use Any Image or Design With Tattoo Transfer Paper?
I can use any image or design with tattoo transfer paper. It’s all about creativity and innovation. Ensure it’s well-adapted for the medium and skin surface it’ll be transferred onto.
-
Is It Possible to Remove a Tattoo Created With Transfer Paper Prematurely, and if So, How?
You can remove a premature tattoo. Douse the area with rubbing alcohol and gently scrub it with a cloth. It’s a quick, easy method to erase any design you’re not fully satisfied with.
Conclusion
Using tattoo transfer paper is easier than it first seems. With some practice, you’ll be transferring designs like a pro. Remember, it’s all about precision and patience. Don’t rush the process. Take your time. And above all, let your creativity shine. After all, tattooing is an art form, and you’re the artist. Now, make your mark on the world. Keep on inking!